Monday, January 20, 2014

Clothesline Photo Frame


For some time, I had been wanting to make some sort of interchangeable frame for the office where I could either use as an idea board or better yet a display for my Instagram pictures that I had printed with PostalPix (a free app that you can order prints directly from your phone). PostalPix allows you to print 3x3 in. photos that are perfect for Instagram pictures, so I had a bunch of these lying around that I had purchased a while back.

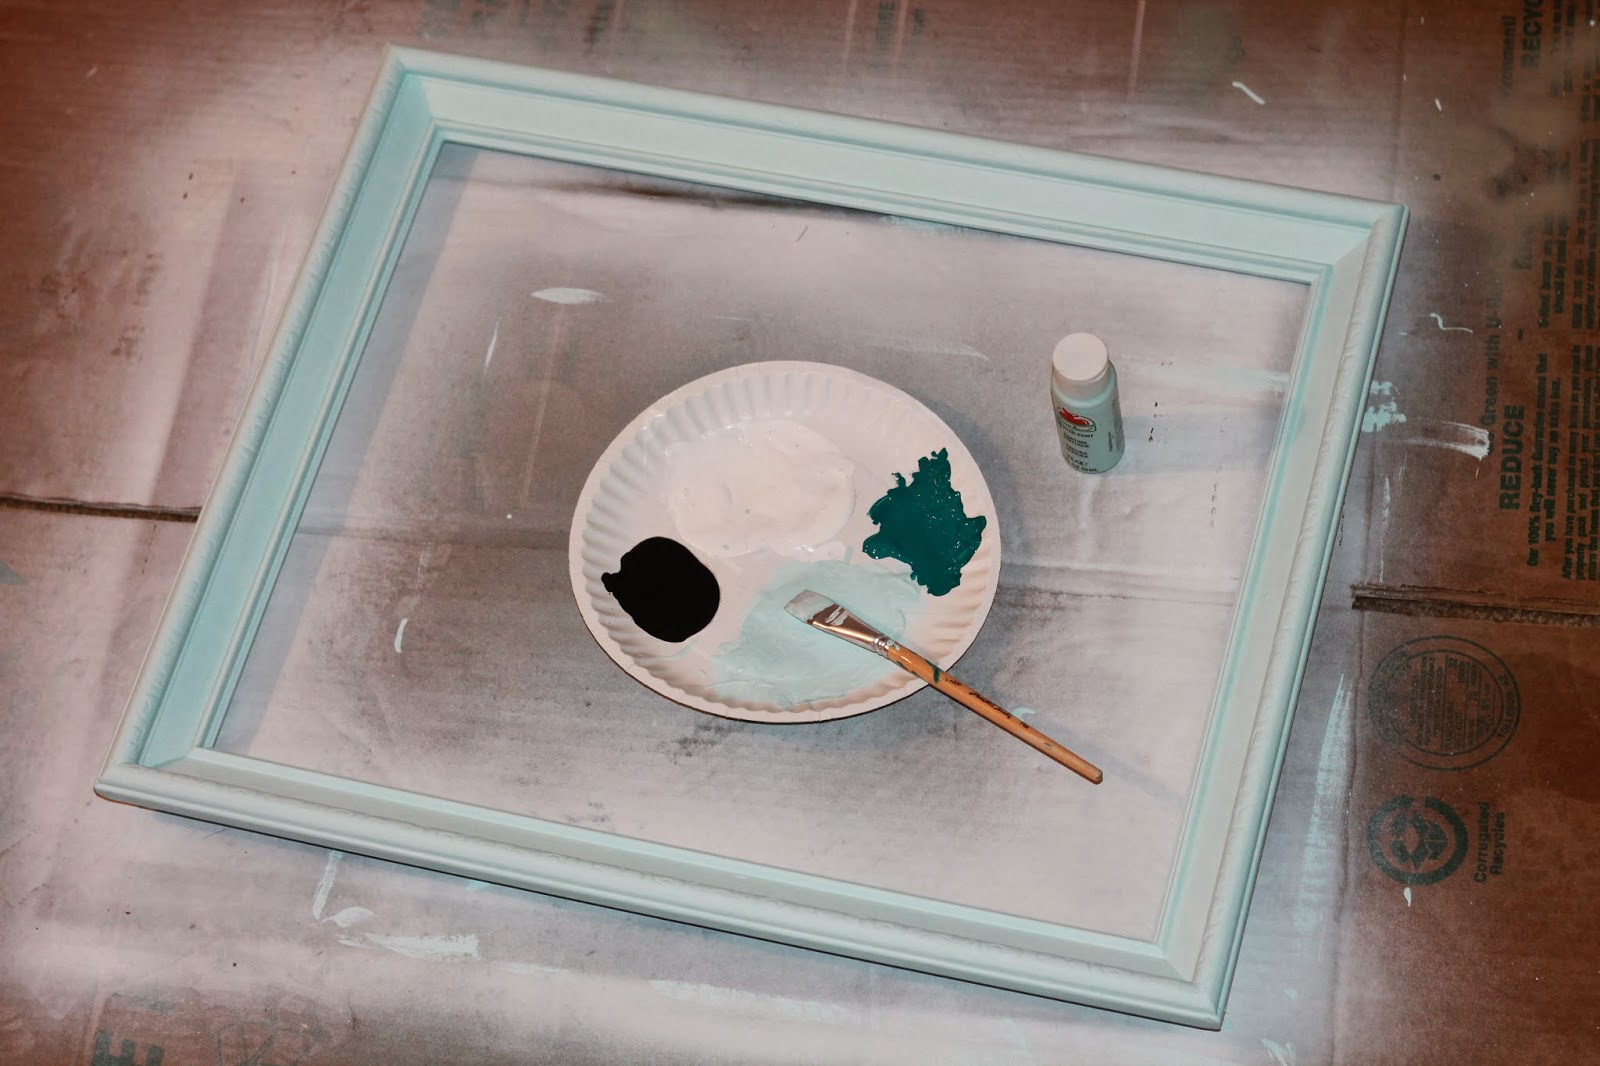
This project was on the back burner, however, until recently when I found a cheap, large enough frame for $5 at a local thrift store. Below are its original colors of green and gold... Not the best combo by any means. I decided to do a more subtle color but first I had to prime it with spray paint since the original colors were so hideous. 


 Once primed, I added a quick coat of acrylic pale blue paint and let it dry. 


I decided on twine as my hanging mechanism because it isn't too heavy to cause drooping and it can be easily attached by tying knots on either end and stapling it tight to the back of the frame as seen below. 


Finally, I just picked up some small clothespins from Walmart to attach the photos to the twine. I would eventually like to get some metal Bulldog Clips to hold the photos. However, those are very hard and expensive to come by in packs of 12 or so.

Here's how the back and front looked when it was finished. 


And here's it is in its new home in the office where I can see all of my favorite pictures hung up! I can't wait to paint those darn yellowish tan walls and make the room more functional. Yes, I realize the light blue looks awful with the green adjacent wall but for the time being it will have to do. 


As for the rest of the office, there's been some other changes as well. A few months ago, I got this wood A-frame desk from Target. And more recently I added the lamp from Ikea and the faux sheepskin (also from Ikea for only $10!) to the thrift store chair to make it more comfy. 


Also, I got my Singer Tradition sewing machine with Christmas money from my dad during a Black Friday sale for only $100! I am super excited to teach myself to sew and hopefully I will be starting a few projects soon. I already have a few in mind! Wish me luck. I will need it. ;)


Peace,
Allison
P.S. Remember the Fitz's banner from our wedding?! 

Linked up with: Inspire Me Please 

Friday, January 17, 2014

Anchors Away Coasters


This is one of those things I saw on Pinterest and just knew I had to make my own for our home. I already had all of the supplies on hand too! Thanks to my DIY Nautical Centerpieces I made for our rehearsal dinner, I had at least half of a roll of sisal rope laying around. While the hubby and I watched our DVR'd episodes of The Walking Dead from the marathon they ran on New Year's day, (We've become obsessed, a little late I know) we tag teamed the coaster-making by having Brandon hot glue while I rolled the sisal rope and formed the coasters. While I'm sure you can do it solo, it was a heck of a lot easier having a partner to help out. 


Once all 6 were completely rolled and the glue had dried, I started the painting process. Obviously, you can make these coasters with whatever design you choose but like the original Pin, I liked the nautical theme with the anchors. I actually free handed my anchors rather than using a stencil. They are all a little different but basically the same and I like the organic look of the varying anchors. 


I'm going to be using ours mainly in our bedroom with our Kate Spade Inspired His + Hers glasses that I just made last week and the gold His + Hers Nightstand Signs I made a while back! 


And these beauts can always be wrapped up with some yarn and given as a nice housewarming gift or present! 


Hope you enjoyed and get inspired to make some of your own! Maybe try a varying nautical theme with an anchor, seagull, boat, and seahorse??

Peace,
Allison


Linking up with: Inspire Me Please 

Wednesday, January 15, 2014

a blank canvas.


Ever just bought a blank canvas just because it was half price even though you didn't have a plan for it yet? Well, I did and it was the best decision ever. 

Maybe it's even a metaphor of sorts, that when we get bogged down to the point that we forget about something we used to love (like painting), sometimes you just have to start from scratch like a blank canvas and get back to the simple things in life. 

Also, this is my favorite quote by the way. Actually it's a lyric from a song called When Heads Roll Off by Frightened Rabbit. I just love the thought that each one of us is meant to make tiny changes in life that essentially effect everyone on earth. It kind of makes you feel important when you think about it that way. 


The color I added around the edges of the painting was one I had on hand from the painting I did above our dresser (a copycat of this one). It also matched the backing I put on my Instagram printed pictures that I framed in Ikea frames recently. 


So go out and buy a blank canvas and see what you come up with! Sometimes it's best not to have a plan all the time. 

Peace, 
Allison

:: Be sure to check out the new DIY Projects tab up top. I reconfigured it so projects should be more easily accessible!:: 


Saturday, January 11, 2014

Kate Spade Inspired His + Hers Glasses


Back when we were picking items for our registry last summer (which seems so long ago now) I fell in love with the Kate Spade His + Hers glass collections. However, as I'm sure you imagine they are $50 for the the set. I knew there had to be a better way. And then I came across Glass Etching Cream. 


Kate Spade Version

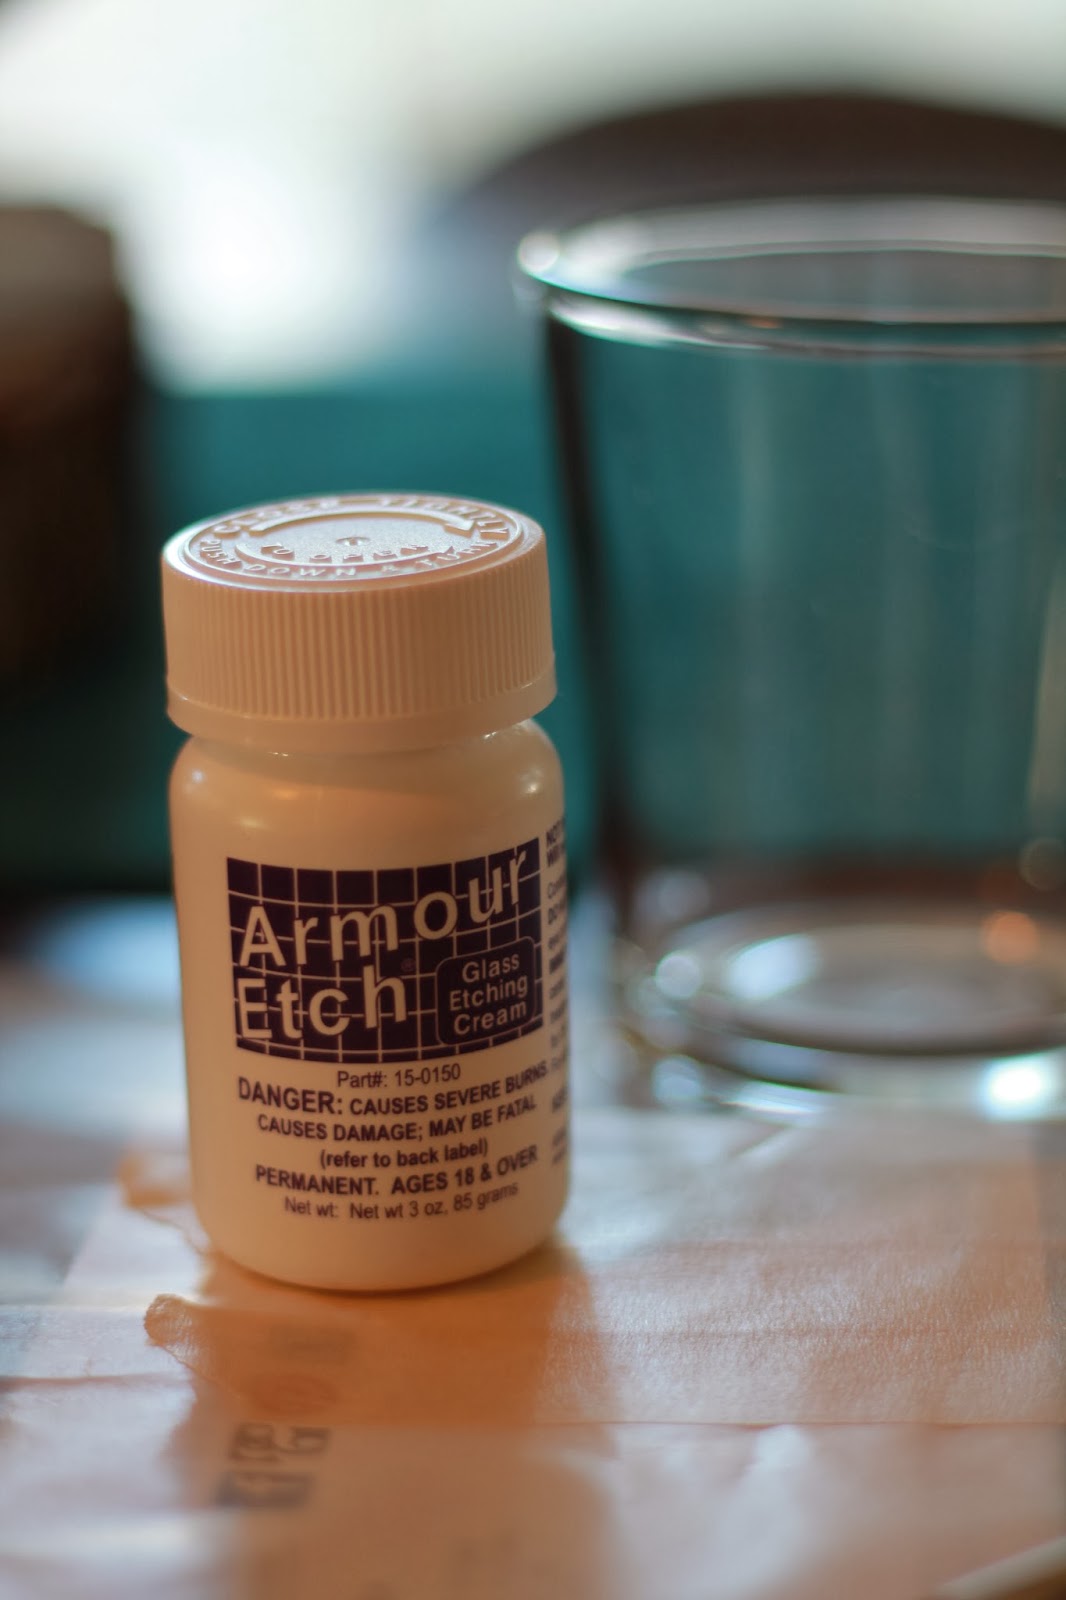
Enter my Kate Spade Inspired His + Hers glasses. I already had the two small glasses on hand from my set back in college. All I needed to buy was the Armour Etch cream that I got at Michael's for $5 with a 40% coupon. You'll also need some painter's tape, a pencil, a pen, a paint brush, an Exacto knife, some wax-paper, and a magazine to cut on top of. 


First, I cleaned and prepped the glasses for the etching. Then I laid some painter's tape onto the wax-paper in the size I knew I would need for my glasses. Using the actual font on the Kate Spade glasses, I free handed the script onto the tape and made sure to outline it in pen. You could obviously cut a stencil to get a different font if you desire. 


Next, I cut the His + Hers out of the tape using my Exacto knife in an easy to peel off form by leaving some wax paper showing on both sides. **Remember when cutting out the words to save all of the little middle pieces on the letters like the "h" and "s." You will need to peel those small pieces off as well and stick them in their appropriate places before using the etching cream.**


I then peeled off the tape very carefully making sure to get all of the wax paper off of the small intricate details without ripping the tape. Go slowly! Next, I again carefully placed the tape onto the glass making sure to center it and keep it level with the top of the glass. Once it is in the placement you would like, push down around all of the letters to make sure the tape is strongly secured. Finally, add in the small pieces in between the letters like the "h" "e" and "s." 


Make sure to read your specific etching cream's instructions. For the Armour Etch, I applied the cream with a small paint brush very generously all over, making sure to cover all of the seams of the tape. You really want an even distribution so that it doesn't look blotchy. For me, I learned the hard way and had a blooper glass that I will show you at the end of this post. 

I then let the cream sit for 5 minutes. At intervals throughout the 5 minutes, I used a technique I read can help relieve any air bubbles by tapping the cream and swirling it around in place. 


Once the time was up, I peeled back a corner to see how etched it was and decided I would try another bout of 5 minutes with a new set of cream. For me, this seemed to work the best. However, if you are planning on doing that method do NOT take your tape off yet and be very gentle while rinsing so your small pieces do not fall off. 

When you are satisfied with the evenness of the etching, rinse as the instructions say and peel off the tape. The Armour Etch says that the glasses are now permanent and dishwasher safe. Here's how mine turned out below!


And here's their new home upstairs on our bedside tables! We are always lugging glasses up and downstairs and now we can finally just have one glass for us each that can be refilled and remain upstairs. It's so convenient and they are super adorable!


P.S. I'm currently reading Wild. Any other recommendations for good reads?! This one got great reviews and I am definitely liking it so far!

Blooper Glass-

As I mentioned earlier, one of my glasses got messed up in the process. After the first 5 minutes, I peeled back the tape and assumed the glass would look evenly distributed just by following the directions on the label. I was sadly mistaken. When I tried to go back and put the cream on the etched areas without reapplying a new tape stencil it was no use and just made it look worse. As you can see below the etching was very blotchy compared to my second attempt at it. 

First attempt on the left, second attempt on the right. 

I hope you love how they turned out and want to recreate your own! 

Peace, 
Allison 

Thursday, January 9, 2014

Birthday Explorations in Greenville, SC


This past Saturday (Jan. 4th!) was my birthday. My sweet husband came to me the day before and asked what city I would like to explore for a day trip the next day and suggested Greenville, SC. Not gonna lie, I think he sneaked a peak in my 2014 bucket list because I swear I never told him that I was hoping to go there sometime this year to check it out. We had heard great things about it from many of our friends who had been there and so of course I immediately jumped on board. We googled the city and came up with a list of sights and breweries to hit up while we were in town. 

Once we got there we grabbed a much needed iced coffee at a small place called "Coffee To a Tea." I loved the clever name and their coffee was very good despite the fact that I made the mistake of getting iced coffee when it was 30 degrees outside. Yes, even to us transplanted northerners this is what we consider COLD now! (My northern friends and family are probably shaking their heads in shame right now, hehe.) Then we were off to the Liberty Bridge in what is known as Falls Park that we had heard so highly about. And boy does the name do it justice! The falls were gorgeous and everywhere you looked there was a beautiful view. 


 The bridge itself was pretty amazing too. It is a suspension bridge ( I believe) and has really great lines. It gave me the opportunity to work on my skills with my brand new Canon 50mm f/1.8 lens that Brandon got me for Christmas! It literally is night and day in comparison to using my Canon 18-55mm lens that has always been my go to lens. I love how crisp the images are and how you can really focus on the forefront of the photo and leave the rest blurry in the background if that's what you're going after. 


Gotta have the layers! "Ohh you both have laaayers. Cake has layers! Everybody likes cake!" Name that quote...


...Shrek, anyone?!?


Handsome Hubby.

Brandon and I really love exploring new places and cities. I think over the last four years we have gotten really good at finding the touristy spots as well as the less known wonders in each city we go to. We LOVED Greenville! If you ever get a chance to visit, it is a really clean and pretty city with an artsy edge that I always love in a new place. 


Can you see the focus vs. blurry aspect in this photo?! Isn't it awesome?!
Off to the side of Falls Park is this really amazing tree with an exposed root structure. It was seriously one of my favorite things we saw all day. I know, I'm a nature obsessor, but it was really neat in person! We couldn't resist taking some pictures next to/ on it. (P.S. I didn't see the No Climbing on These Roots sign until after I had already climbed on them. Oops!)


I am still slightly (okay, SERIOUSLY) obsessed with my combat boots. These babies are from Target and they are my favorite Target purchase since before Thanksgiving! They are so comfy and casual and yet they dress an outfit up just enough with an edge to it. All day long Brandon heard, "make sure to get my boots in the picture!" "No really, do a long ways photo so you can see my boots." It must have gotten to his head by this point because he actually got a really great image of them above! AmIRight?! He's getting pretty good with a camera if I do say so myself. Must have a good teacher. ;) 

Next, it was off to lunch at the Brick Street Cafe. Warning, when you walk into this place you are going to want to order a cake entirely for yourself... No joke. It is half bakery, half cafe, and the aroma from the bakery was like 10 times better than those cake batter candles they sell at Yankee Candle. We settled with one piece of the "Best Chocolate Cake You've Ever Had" after lunch. And boy, was this an understatement. It was the most delectable piece of melt in your mouth goodness EVER. As the waiter who brought us chocolate cake in Portugal 3 years ago said, it was "death by chocolate with extra death."

Is your mouth watering yet?!
 Once we were full of food, we could move on to the alcohol part of the day. We walked the Main St. and explored some of the shops where I found these adorable letter books at Anthroplogie. They're $20 each but I'm thinking I might have to find a way to DIM (do it myself) for wayy cheaper. Can you find Waldo, errr... Brandon?? 


We then hit up the Dark Corner Distillery on N. Main St. Now, I am not a liquor person by any means but any time there is a $3 tasting with a free shot glass, I'm in! Surprisingly, I did try (baby portions) of the six samples of Whiskey they had. While my gag reflex got a good workout, I kept it all down and was very proud of myself. However, I will not be a Whiskey girl (like my friend Jes) anytime soon! Beer and wine for me please!! 


The inside of the distillery was well worth the time to go check out though. 


Then it was off to the Breweries on our list. We checked out Quest and Blue Ridge Breweries and had a great time at both. I got a new growler to add to my collection at Quest Brewery and a new t-shirt from Blue Ridge. We also ended up eating dinner at Blue Ridge and I had some amazing ribs. 


All in all, it was a fantastic birthday thanks to my hubby for knowing my love of explorations and adventures! I think 24 in 2014 is going to be a good year! Nothing like a bunch of even numbers to start off the year right. 

Peace, 
Allison 


Related Posts Plugin for WordPress, Blogger...