
Back when we were picking items for our registry last summer (which seems so long ago now) I fell in love with the Kate Spade His + Hers glass collections. However, as I'm sure you imagine they are $50 for the the set. I knew there had to be a better way. And then I came across Glass Etching Cream.
 |
| Kate Spade Version |
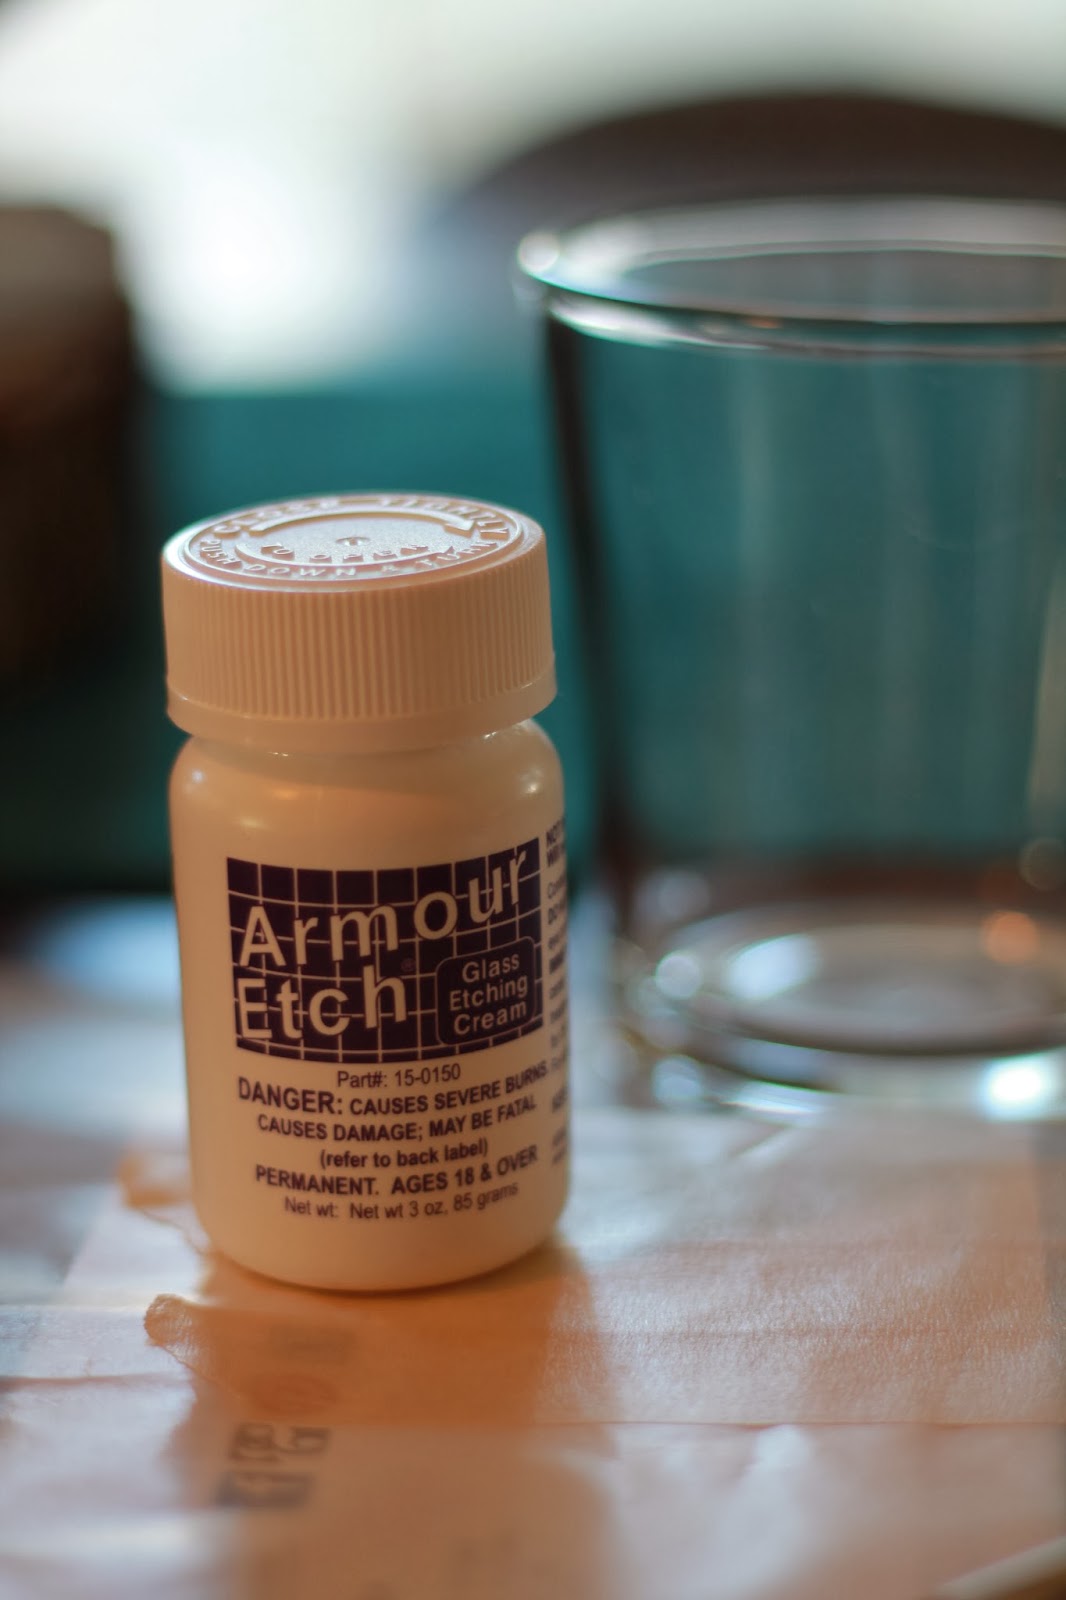
Enter my Kate Spade Inspired His + Hers glasses. I already had the two small glasses on hand from my set back in college. All I needed to buy was the Armour Etch cream that I got at Michael's for $5 with a 40% coupon. You'll also need some painter's tape, a pencil, a pen, a paint brush, an Exacto knife, some wax-paper, and a magazine to cut on top of.

First, I cleaned and prepped the glasses for the etching. Then I laid some painter's tape onto the wax-paper in the size I knew I would need for my glasses. Using the actual font on the Kate Spade glasses, I free handed the script onto the tape and made sure to outline it in pen. You could obviously cut a stencil to get a different font if you desire.

Next, I cut the His + Hers out of the tape using my Exacto knife in an easy to peel off form by leaving some wax paper showing on both sides. **Remember when cutting out the words to save all of the little middle pieces on the letters like the "h" and "s." You will need to peel those small pieces off as well and stick them in their appropriate places before using the etching cream.**

I then peeled off the tape very carefully making sure to get all of the wax paper off of the small intricate details without ripping the tape. Go slowly! Next, I again carefully placed the tape onto the glass making sure to center it and keep it level with the top of the glass. Once it is in the placement you would like, push down around all of the letters to make sure the tape is strongly secured. Finally, add in the small pieces in between the letters like the "h" "e" and "s."

Make sure to read your specific etching cream's instructions. For the Armour Etch, I applied the cream with a small paint brush very generously all over, making sure to cover all of the seams of the tape. You really want an even distribution so that it doesn't look blotchy. For me, I learned the hard way and had a blooper glass that I will show you at the end of this post.
I then let the cream sit for 5 minutes. At intervals throughout the 5 minutes, I used a technique I read can help relieve any air bubbles by tapping the cream and swirling it around in place.

Once the time was up, I peeled back a corner to see how etched it was and decided I would try another bout of 5 minutes with a new set of cream. For me, this seemed to work the best. However, if you are planning on doing that method do NOT take your tape off yet and be very gentle while rinsing so your small pieces do not fall off.
When you are satisfied with the evenness of the etching, rinse as the instructions say and peel off the tape. The Armour Etch says that the glasses are now permanent and dishwasher safe. Here's how mine turned out below!

And here's their new home upstairs on our bedside tables! We are always lugging glasses up and downstairs and now we can finally just have one glass for us each that can be refilled and remain upstairs. It's so convenient and they are super adorable!


P.S. I'm currently reading Wild. Any other recommendations for good reads?! This one got great reviews and I am definitely liking it so far!
Blooper Glass-
As I mentioned earlier, one of my glasses got messed up in the process. After the first 5 minutes, I peeled back the tape and assumed the glass would look evenly distributed just by following the directions on the label. I was sadly mistaken. When I tried to go back and put the cream on the etched areas without reapplying a new tape stencil it was no use and just made it look worse. As you can see below the etching was very blotchy compared to my second attempt at it.

 |
| First attempt on the left, second attempt on the right. |
I hope you love how they turned out and want to recreate your own!
Peace,
Allison
So clever and cute, Allison!
ReplyDeleteThanks!!
ReplyDelete