Monday, August 25, 2014

True Life: Behind the Scenes Blogger


This is what real life diy/ blogging looks like. Sweaty hair. Messy {literally} bun. Tired eyes. Slight grin of satisfaction after a long day of projects. 

While all of my projects have nice little before & after photos, sometimes I forget to post the sometimes funny, sometimes frustrating in between photos of what really goes into these projects. Sometimes they work out, sometimes they don't. But all of them have a lot of hard work and heart put into them, not just to add to the "look" of our home but mostly so I/we can say, "we made that for our home." 

And sometimes..... 

You get so "into" a project that you dip your entire ponytail into a bucket of paint... 


Or in Rhiley's case, you get paint on your butt. 


Hope you enjoyed a good laugh! 

Peace,
Allison 

Wednesday, August 20, 2014

Gold, White, & Brass, Oh My!


Two weekends ago our guest furniture got a long overdue makeover! The bedroom set is a solid wood set that used to be my grandfather's who actually owned a furniture store called VanNoy's furniture in Mansfield, PA back in the day, so it really is near and dear to my heart. Sadly, the wood pieces had lots of scratches and needed some TLC and a little updating to bring them back to life. 

This was my first time painting large furniture pieces and although it was definitely a time consuming process, it went surprisingly smoothly. The painting process was done over a series of two days in the garage. 


 Brandon sanded the furniture lightly with our electric sander and then I painted 3 coats of Benjamin Moore White Dove on all of the furniture which included a dresser, set of drawers, 12 drawer fronts, a full bed frame, and the dresser mirror. I really liked the matte look of the eggshell finish paint, but after moving the furniture up to the room, there were already fingerprints and a few chips visible so I ended up having to do one coat and touch-ups of Miniwax Polycrylic Clear Gloss which really ended up making the pieces look completely finished.


Left to Right: 1, 2, & 3 Coats of Paint

 Once it was all painted, it was time to put on the hardware I had purchased from 
D. Lawless Hardware. Unfortunately, with the old wood pulls taken off, it became apparent that the new handles were not going to fit the old holes. I ended up just placing the handles where they completely covered the old holes and were not visible from the outside of the drawers. Once I drilled the holes, it was a quick job to screw all of the handles in. 


I am pretty psyched with how they turned out though! The brass mixed with the perfectly warm White Dove paint makes for some easy looking. Here's just a reminder of how the guest furniture used to look...


And now here they are in all of their white and brass glory!


While I was already in painting mode, I picked up this old window from one of our nearby thrift stores called His House and painted it the same White Dove color. I like how the window kind of takes the place of a large headboard since the actual bed headboard is quite short. 


I whipped out my sewing machine I had gotten for Christmas finally too and made this quick and easy fabric banner using leftover fabric from my sister's Bridal Shower last month. I messed around with some of the stitches my machine can do since I wanted it to look handmade anyways. It's not fine sewmanship by any means but it does the trick! (Just don't look too closely ;) )


So much fresher looking, right?! I love the look of wood and stain, but that white and brass sure does look classy. 

Peace, 
Allison 

Living Room Before & After!


We have made some great headway in the house in the last few months! **By the way, how cool is that Picstitch above of the before & after?!** In fact, I am pretty excited to say the living room is complete, at least for a while ;). While some parts have been mostly done for quite some time, we finally got around to painting the gosh awful yellow neutral walls to a much more light and airy gray, Benjamin Moore Gray Owl, with the trim being painted Benjamin Moore Simply White. 

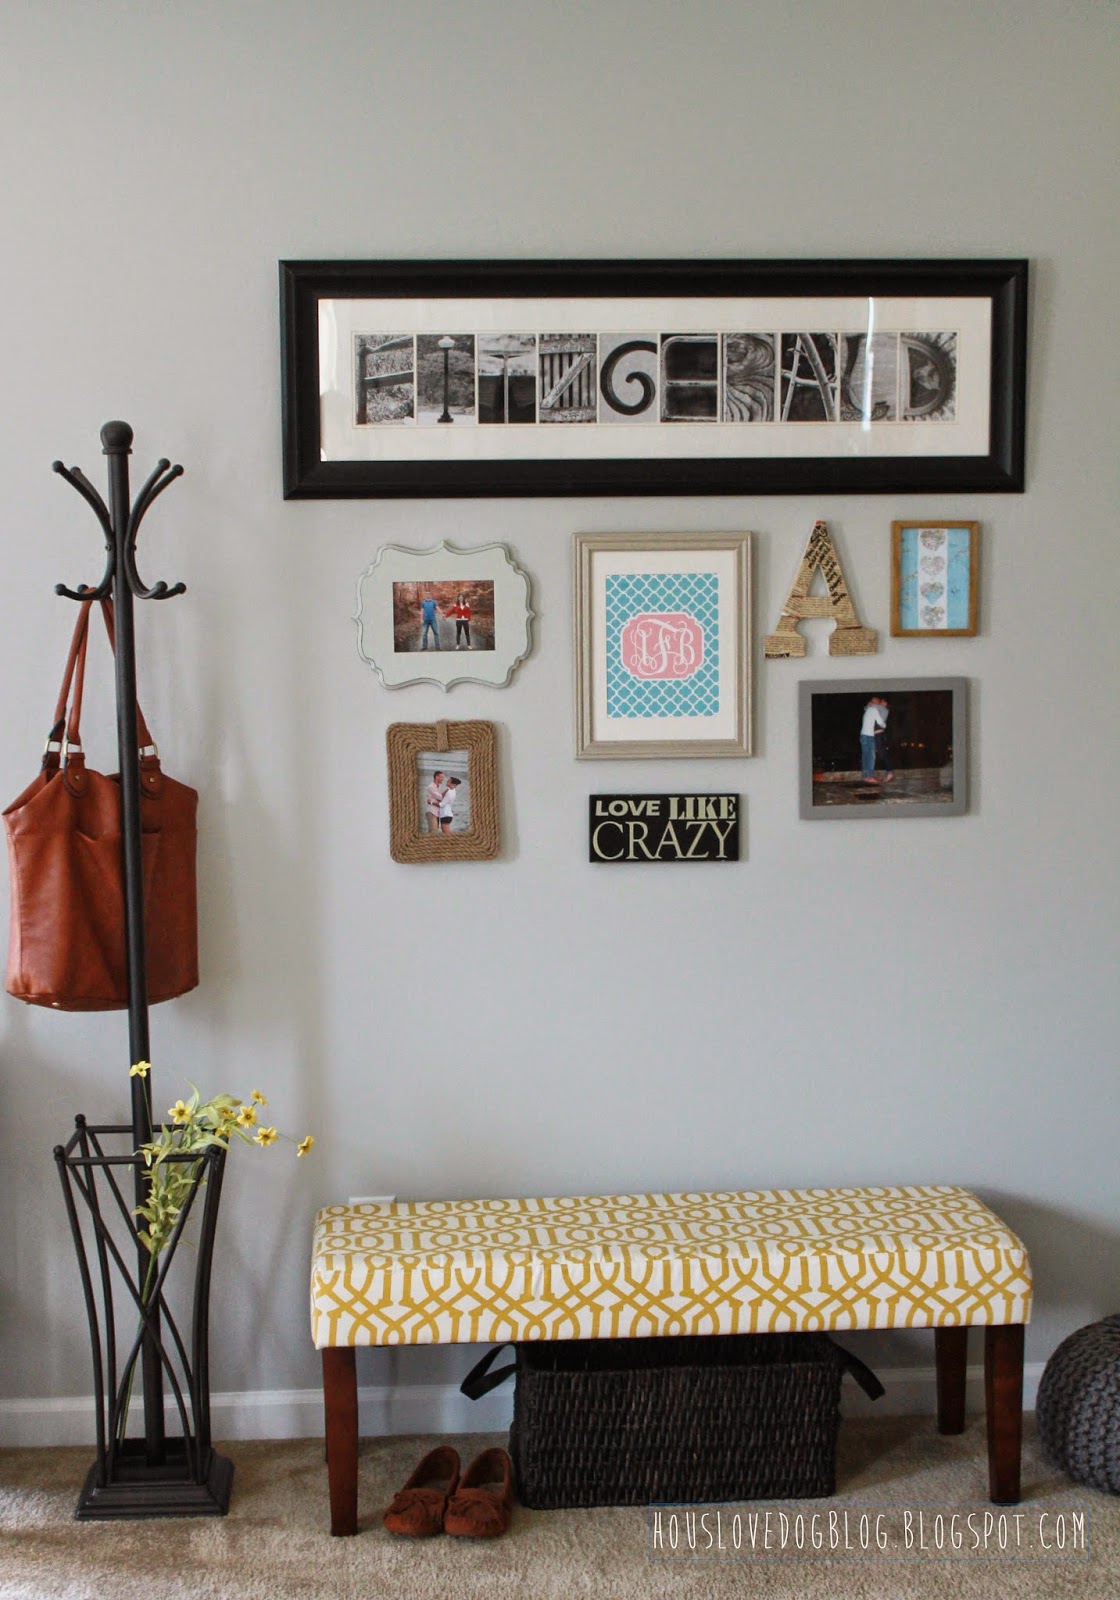
It looks soo much better in my opinion! I also added a few more things like the yellow trellis bench from Target. This room has come a long way since we moved in. Don't believe me?! Scroll down to the photos below from when we first moved in! 

Without further ado, here are the before and afters...

Befores:
March 2013- Days After Move-In 


May 2014


After:


Yellow Trellis Bench: Target
Grey Knitted Pouf: Target
 
Crate Table: DIY from here.
Magazine Tray: DIY from here.
Framed Map Art: DIY 
Window Picture Frame: DIY

"The Best is Yet to Come" Poster: Elise Blaha #Make 29, here


Chevron Lampshade: DIY from here
Painted Stripe Curtains: DIY 
Standing Globe: Thrift find 


Iron and Cherry Wood Shelf: by my brother at Hous Made 
Leather Chair: World Market 
Striped pouf: Target
"Make Your Own Magic" Print: by Elise Blaha #Make 29, here.
Painted Antlers: DIY here


Unexpected Chalkboard Wall: DIY
& A sneak peek into the newly painted kitchen! 

LOVE Cork Letters: DIY 

Lion Bottle Opener: World Market 
Wall Color: Benjamin Moore Gray Owl 
Trim Color: Benjamin Moore Simply White 

What do you think? Lots of fun stuff going on, huh?! 

.:Want to see more? Check out the updated House Tour Tab!:.

Peace, 
Allison 

.: Linked up with Inspire Me Please :. 


Wednesday, August 6, 2014

Sink Update

Just a little glorious before & after action here on your lovely Wednesday afternoon. Last week we updated our sink faucet to the Peerless Stainless Kitchen Faucet. To say we are loving it is an understatement! So convenient with the pull down hose that's hooked into the faucet itself. Plus we got 10% off at Lowe's which is always a plus in my book! It goes to show that even doing small updates periodically can have a LARGE impact even on a small budget. 

BEFORE:
AFTER:

Happy Hump Day!

Peace, 
Allison 

Sunday, August 3, 2014

Our Save the Date Magnets


When picking our Save the Dates, I knew I wanted them to be magnetic so our guests could put them on their fridge (I not so secretly love magnets on the fridge, particularly the Save the Dates of friends and family) but I didn't want to pay as much as actual magnetic Save the Dates are. After picking my favorite design on Minted, I decided to get the full 5x7 cards printed and then I just picked up a roll of magnetic stripping from Michael's that I cut into small pieces and attached to the back of each card. Simple, yet still the same idea.

Peace, 
Allison 

.:If you like this wedding post, check out our Rustic DIY Barn Wedding tab above or click on the link!:. 


Friday, August 1, 2014

Coffee Cart Completion!


I had been on the hunt for an old cart or cabinet that I could DIY into a coffee cart for quite some time with no luck. When I finally found this utility cart (from Sam's Club) turned bar cart transformation, I knew it was exactly what I was looking for; industrial and chic. If you follow me on Instagram, you may have seen this sneak peak of the cart in progress. 

It was a very simple DIY consisting of a little date with my trusty spray paint cans and some simple additional features. I love how it turned out and even more so how convenient it is!


Print from KatyGirl Designs.


In order to be able to show off some of my favorite mugs, I picked up some silver S hooks and spray painted them gold to blend in better. So fun and functional! 


Finally, I hot glued a leather remnant I found at Hobby Lobby for 40% off to the handle to make it look a little more put together and less like the utility cart it was meant to be. 

Overall, I am giddy with how it turned out! My coffee game has definitely gotten a boost in the right direction. Now I just need to remind Brandon that you can never have enough cute mugs. ;)

Peace, 
Allison 

Linked up with: DIY Vintage Chic, Inspire Me Please, and Project Inspire{d}
Related Posts Plugin for WordPress, Blogger...