Friday, February 21, 2014

The Road You Tread to See Us Wed


The details of our wedding were very important to me. I wanted our wedding to be an experience for our guests that encompassed our personalities and who were are as a couple. 

Back when I first started making Pinterest projects and DIYing, I made the Our Adventures Together corkboard to mark where we have traveled together and where monuments of our relationship had occurred (ie. met, engaged, married, first house, etc.). The original board is just a generic cork board from Target that I painted turquoise. The map itself was cut out of a roll of cork that you can get at any craft store using a printable U.S. map as a template. 


When it came to the wedding map, I knew I wanted something similar to show how far and wide our guests were coming to join us for our wedding. Oddly enough, my dad was the only guest out of our 90 guests who was not from out of town (including Brandon and me). But, once I got to thinking, I decided I would just rework the original map to become our The Road You Tread map. 

About two weeks out from the wedding, with a mostly finalized guest list, I pushed the pins into the areas our guests were travelling from (My Aunt, Uncle, and cousin came all the way from CA!)  and secured them with white string to the pin of where our wedding was (in SC). 


While this project only took some re-configuring for me since I already had the map made, it was a very simple yet fun piece to add to our guest book and gift table (picture from our wedding setup below!). Once the wedding was over, I just took off the wedding details and put our adventure board back together.

I really think it meant a lot to our out of town guests to see that we were appreciative of the distance they had all come near and far to see us get married. I still can't believe it was almost 5 months ago already!! Time flies when you're having fun (mostly ;) )!


Peace, 
Allison 

.: If you like this wedding post, check out our Rustic DIY Barn Wedding tab above or click on the link!:. 


Wednesday, February 19, 2014

Happy {Heart} Day 2014


Happy Belated {Heart} day! I hope you had as relaxed and enjoyable a day as we had. Thankfully we had the day off so it was awesome. It started with a delish breakfast in bed of a bacon, egg, and cheese bagel (yum!) and hand dipped chocolate covered strawberries. No joke, a Sherri's Berry's commercial had come on the TV at the gym the other day and I totally pointed to Brandon like these look good *wink, wink*, *hint, hint.* Surprise, surprise he remembered and even MADE them himself. I was impressed!


Once we finally got dressed for the day, we were off to Sam's club (I know, how romantic!) where we picked out a mattress and box spring for our guest bedroom with some of our tax refund. No big deal, it just took us practically a year to have a decent bed for guests to sleep on! So you know what that means?! Who's going to be our first guests now that we have a proper guest living quarters?? By the way, shout out to our AWESOME neighbors who helped us pick up the mattresses in their truck!

We also stopped by Sears at the mall because it was having crazy closing sales on everything. We got a standing miter saw for wicked cheap so I am excited that I can finally do some larger scale building projects! More on that soon.

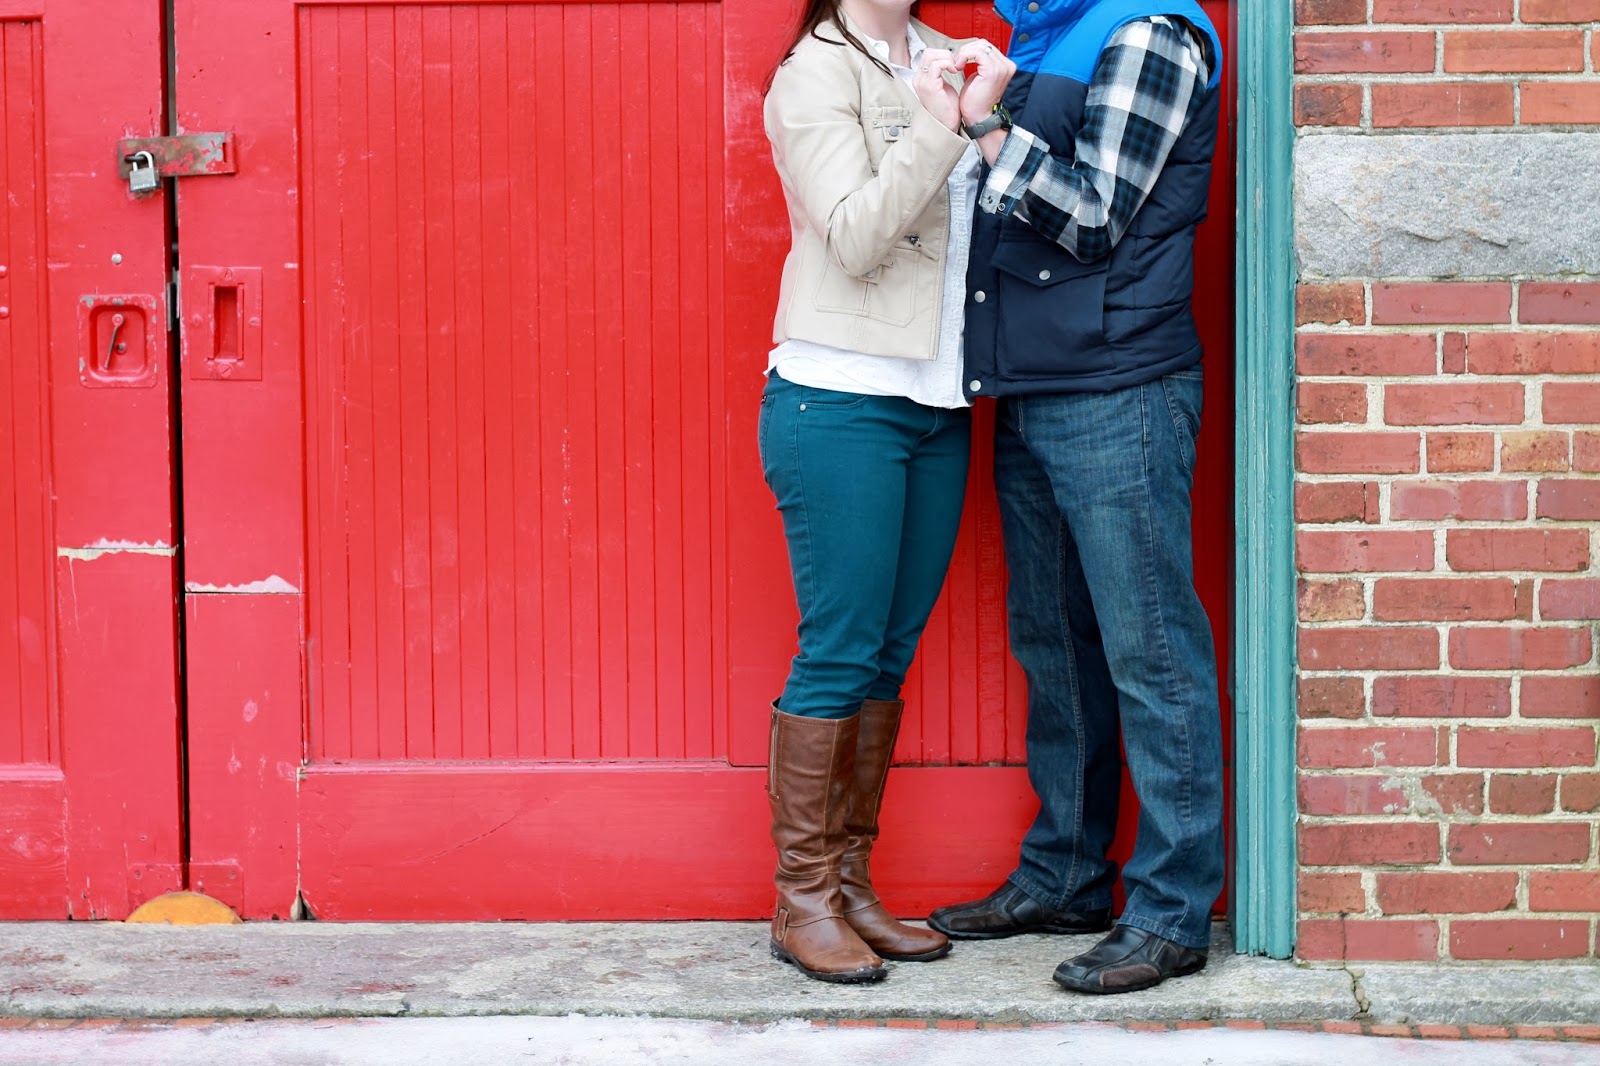
Finally, we went to the Riverfront park in Columbia where I had seen these awesome red barn doors last week to take some Valentines/ Winter photos on self timer using my tripod. If you didn't know, I love self timer! I'm not going to lie we have gotten some of our favorite travelling photos using self timer. Usually it goes something like this: I set up the camera on a random bench or using my purse to angle the camera on the ground using Brandon as my model, set up the self timer function, and then sprint (sometimes up to 50 yds., no joke haha) to my position, where I quickly wipe the sweat from my sprint, and then try to look as "natural" as possible. It is probably quite the sight to see but it is a thrill nonetheless. Especially when I get the "perfect" shot I was looking for. 


It was a really fun afternoon activity to get some now that we're married shots. I am hoping to do a photo session like this for each season of our newlywed year. By the way, self timer and trying to get a perfect heart with two peoples hands is harder than it sounds.... 


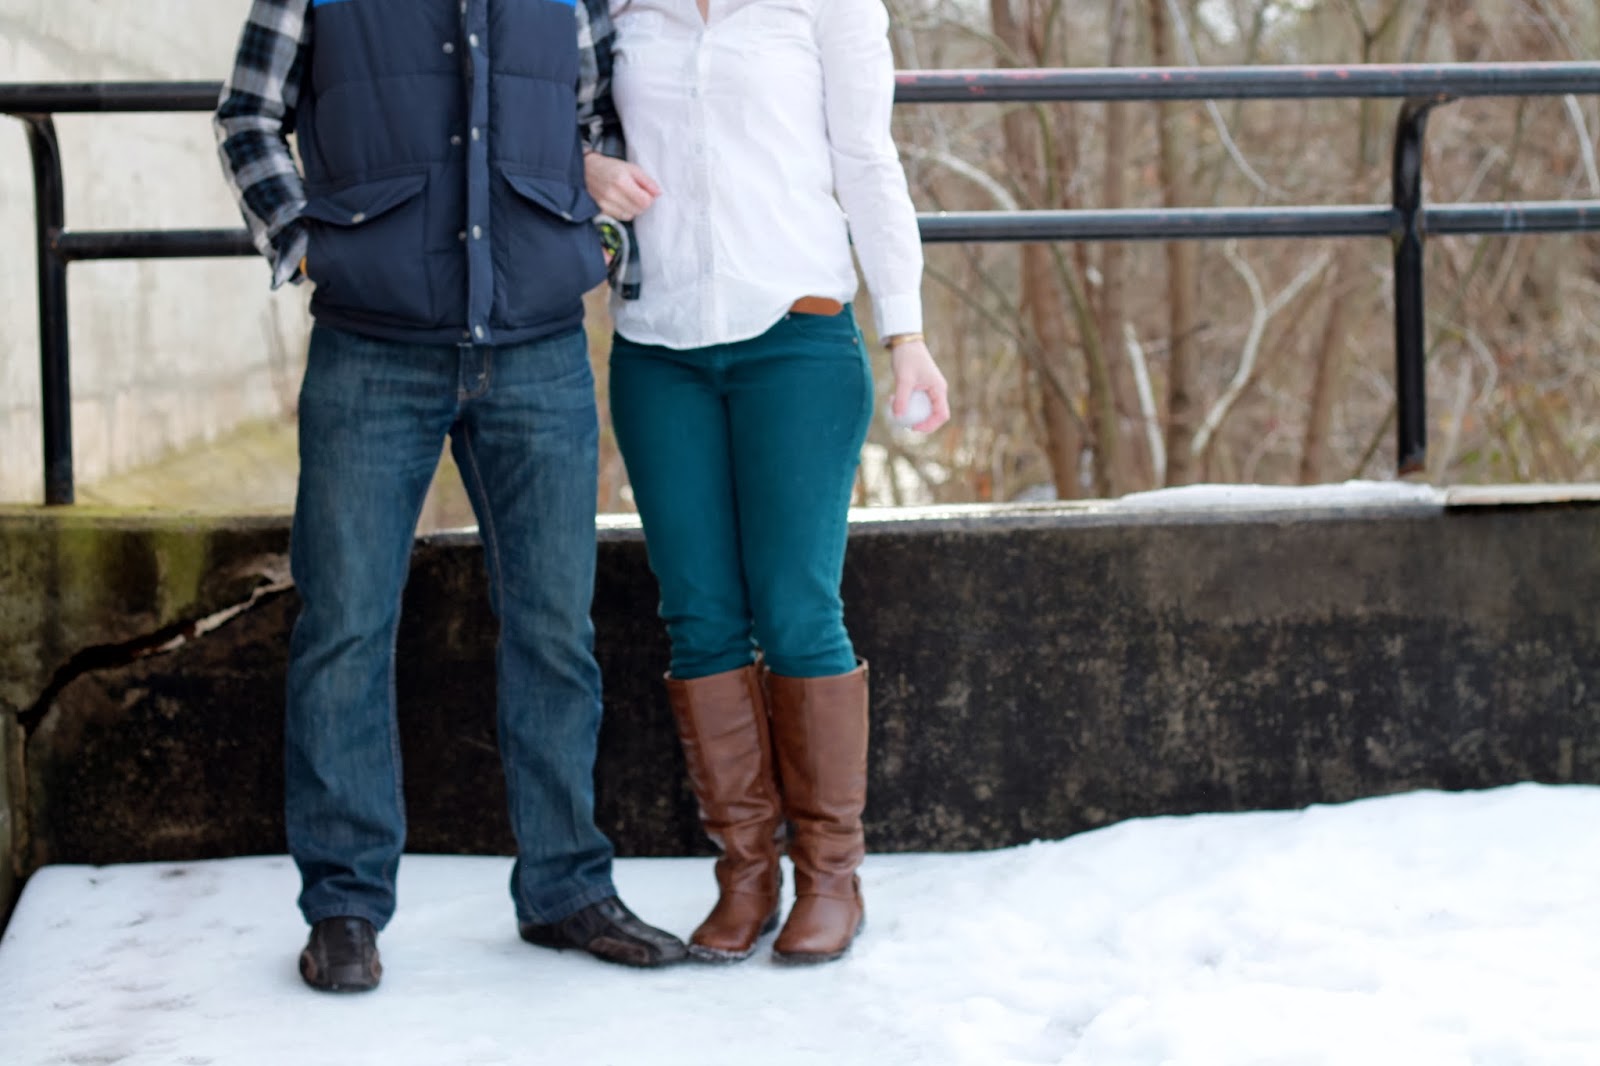
And what kind of winter photos would they be if there wasn't any snow?! We just got hit here in SC with a snow/ ice storm (one of the biggest in like a decade) and an earthquake all in the same week so I'm so glad there was still some snow left on the ground on {Heart} Day. 


His face is priceless.


Newlywed life is treating us pretty well. Although there are definitely those days I want to throw a snowball in his face...just for fun! Hope you had a great Valentines. 

Peace,
Allison 

Tuesday, February 11, 2014

Upcycled Eclectic Jewelry Stand


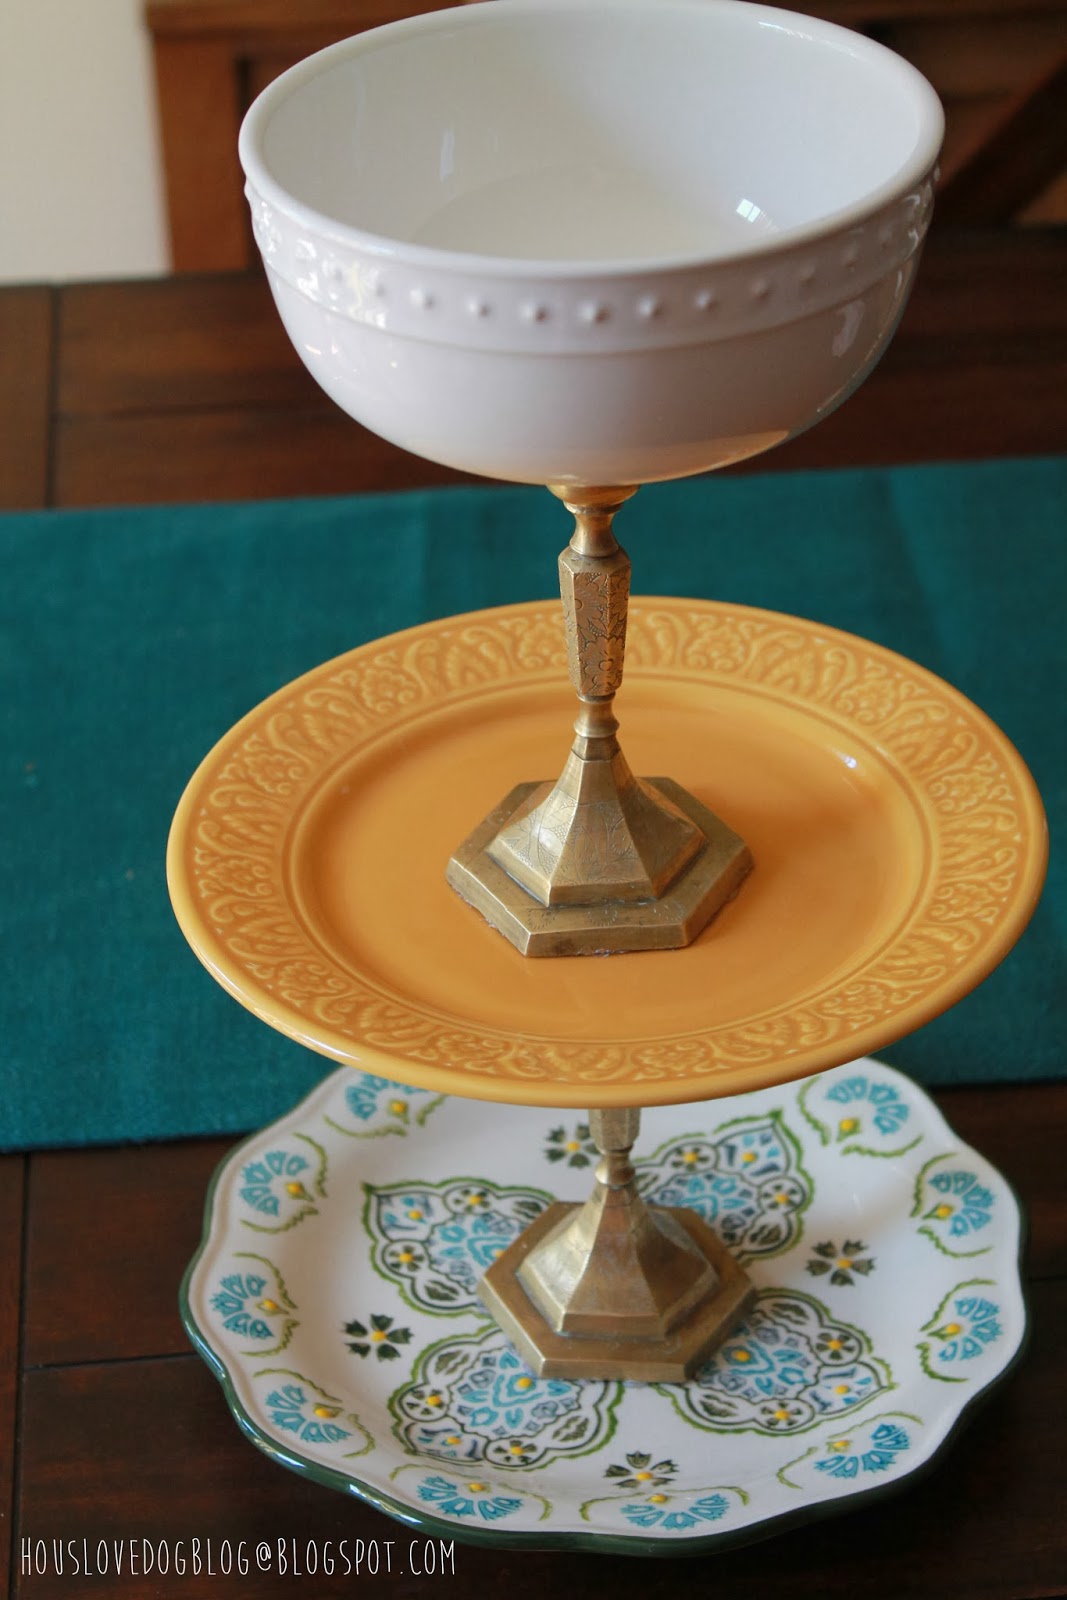
This past week I made a great storage solution for jewelry! I had seen some different versions of these for uses in the kitchen as well as storage, but when I found this pair of detailed octagonal brass candlesticks I knew I wanted to try and make my own. 


I found the brass candlesticks for $5 at a local thrift store and then was on the hunt for eclectic plates that would go well with them. I searched through lots of thrift stores as well as TJ Maxx and was not able to find any I particularly liked. I finally landed on these two plates and a bowl at World Market. They were a little more than I had planned on spending so there is obviously a way to make them for a whole lot less (through thrifting or plates you already own!) but the entire thing cost me about $20 total. 


I ended up using hot glue to attach the plates and bowls. However, this was definitely a pain in the butt because my octagonal based candlesticks were hard to line up exactly before the glue dried. Needless to say it took me MANY times to get it lined up to my liking. Next time I would definitely look for candlesticks that are more rounded on the base to avoid having to line up the two candlesticks exactly. Also, gorilla glue or some other glue might work better as well. 


All in all, I am very excited by my new jewelry storage. It looks almost vintage with the old candlesticks and I love the different patterns and textures on the ceramics. Once I added it to my jewelry section in our closet I was pretty pleased with how it turned out. The top bowl is perfect small jewelry pieces and earrings and the plates are great for bracelets, necklaces, and the like. 


While at World Market, I also picked up this ceramic egg dish. I'm sure it works great for eggs, but I saw it being used for a more organizational purpose for all of my stud earrings. It is perfect!! So many slots and cute as well! All for only 6 bucks! 


I finally am satisfied with my little corner in our closet. Not too shabby eh?? What do you think?? I'd love any other tips you have for closet/ jewelry organization. 

Peace!
Allison

Linked up with House of Rose and East Coast Creative

Related Posts Plugin for WordPress, Blogger...