Showing posts with label Gold. Show all posts

Saturday, September 13, 2014

Simple Gold Herringbone Bar Update!


We got this mahogany bar as a wedding gift from my sister and very soon-to-be {as in less than one month!} brother-in-law. It was from Bed, Bath, and Beyond and was on our registry. I love all of the storage it offers and the extra space I get to decorate (otherwise known as me cluttering it up with cute things!). The only thing was that the bottom shelves were so dark and cavernous that you couldn't really see all of our glasses hanging (see below). 


I decided on a whim one night to brighten the shelves up using all things I already had on hand! I used some scrap mat board pieces I had left from my "The World is Your Oyster" knock-off artwork and cut them to size to fit in the back of the shelves. Then, I taped them off with masking tape in opposite diagonal patterns to create a Herringbone pattern when put together. Finally, I spray painted the mat boards using some gold spray paint I had on hand. Surprisingly, they dried within minutes and I was able to remove the tape and put them in their places. Only about 20 minutes total time for this quick update!  

How about those Trader Joe's tulips! 


I love how much brighter the shelves look now and how the pattern brings some added interest as well! Plus now you can see all of our glasses much more clearly. This simple update could be used for any dark furniture piece for that matter or just any shelves you have that need a little added interest. 


Finally, here are a few pics of how I styled our bar top. The gold bunting banner is actually glitter paper I picked up at Michael's that I sewed together. I may be doing a small tutorial on how you can make your own one of these days. The Happy Flags in the mug are from this Etsy shop, Natalie Creates. And of course you can see more about my knock off, "The World is Your Oyster" artwork here. 


What in your home could use some brightening up? 

Have a great weekend!

Peace, 
Allison 


Wednesday, August 20, 2014

Gold, White, & Brass, Oh My!


Two weekends ago our guest furniture got a long overdue makeover! The bedroom set is a solid wood set that used to be my grandfather's who actually owned a furniture store called VanNoy's furniture in Mansfield, PA back in the day, so it really is near and dear to my heart. Sadly, the wood pieces had lots of scratches and needed some TLC and a little updating to bring them back to life. 

This was my first time painting large furniture pieces and although it was definitely a time consuming process, it went surprisingly smoothly. The painting process was done over a series of two days in the garage. 


 Brandon sanded the furniture lightly with our electric sander and then I painted 3 coats of Benjamin Moore White Dove on all of the furniture which included a dresser, set of drawers, 12 drawer fronts, a full bed frame, and the dresser mirror. I really liked the matte look of the eggshell finish paint, but after moving the furniture up to the room, there were already fingerprints and a few chips visible so I ended up having to do one coat and touch-ups of Miniwax Polycrylic Clear Gloss which really ended up making the pieces look completely finished.


Left to Right: 1, 2, & 3 Coats of Paint

 Once it was all painted, it was time to put on the hardware I had purchased from 
D. Lawless Hardware. Unfortunately, with the old wood pulls taken off, it became apparent that the new handles were not going to fit the old holes. I ended up just placing the handles where they completely covered the old holes and were not visible from the outside of the drawers. Once I drilled the holes, it was a quick job to screw all of the handles in. 


I am pretty psyched with how they turned out though! The brass mixed with the perfectly warm White Dove paint makes for some easy looking. Here's just a reminder of how the guest furniture used to look...


And now here they are in all of their white and brass glory!


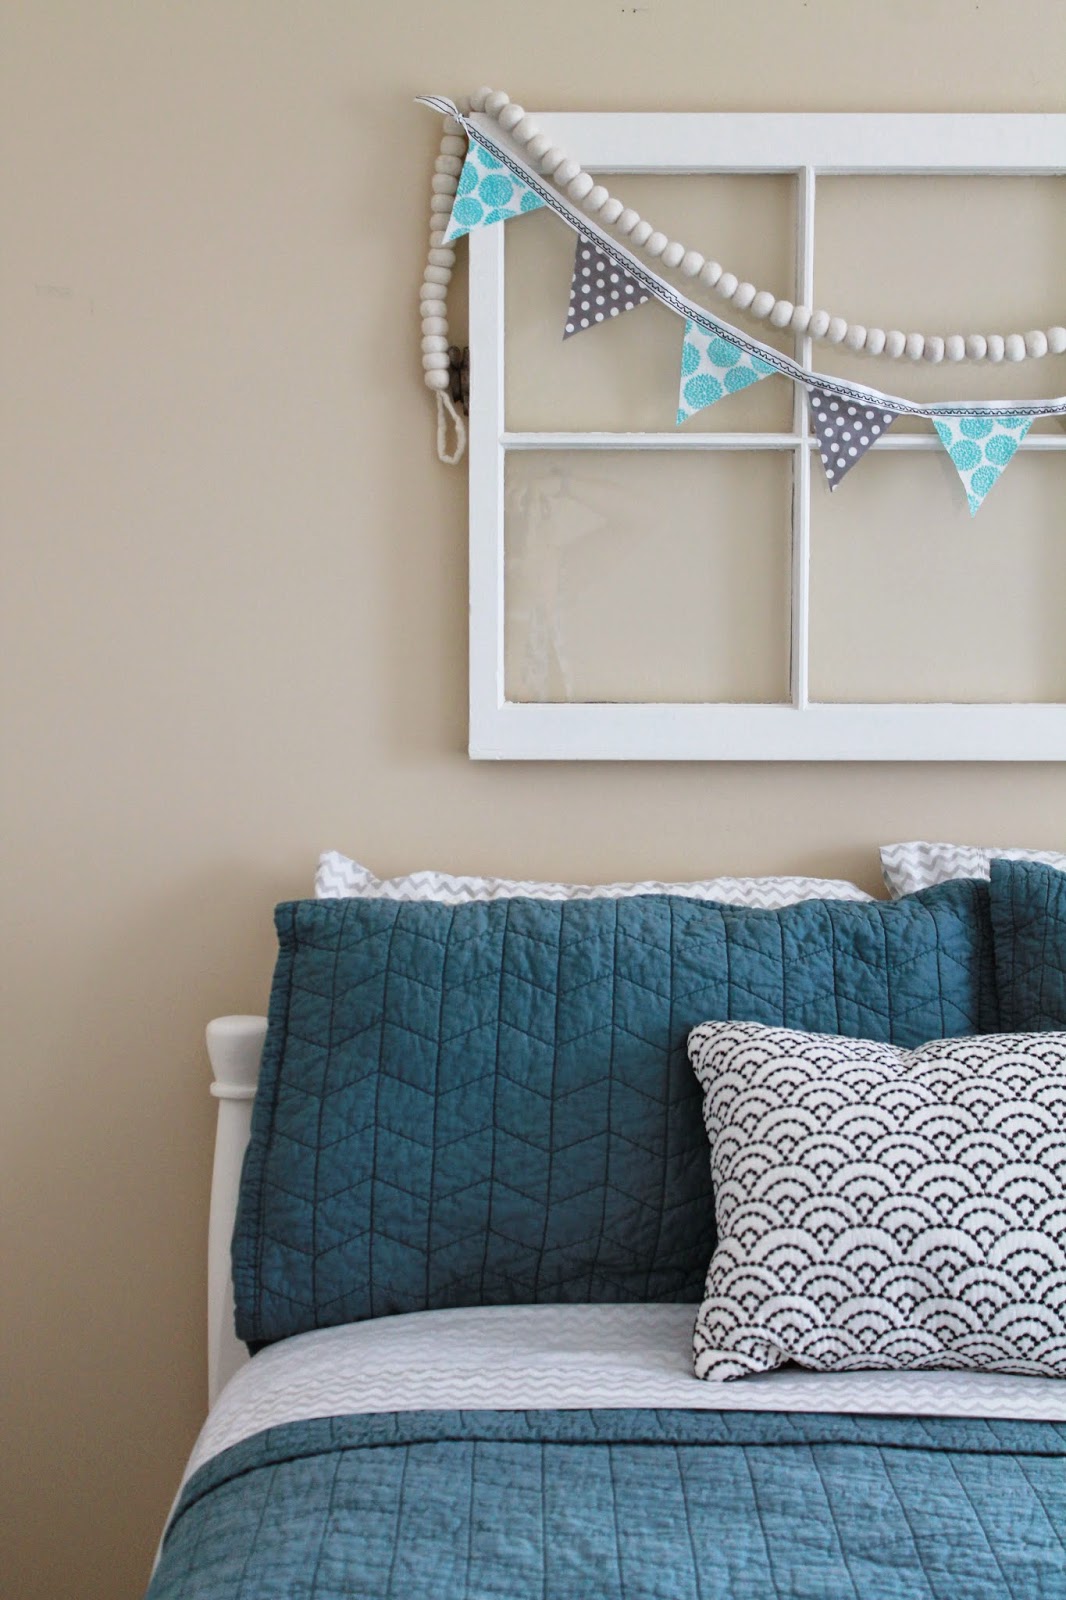
While I was already in painting mode, I picked up this old window from one of our nearby thrift stores called His House and painted it the same White Dove color. I like how the window kind of takes the place of a large headboard since the actual bed headboard is quite short. 


I whipped out my sewing machine I had gotten for Christmas finally too and made this quick and easy fabric banner using leftover fabric from my sister's Bridal Shower last month. I messed around with some of the stitches my machine can do since I wanted it to look handmade anyways. It's not fine sewmanship by any means but it does the trick! (Just don't look too closely ;) )


So much fresher looking, right?! I love the look of wood and stain, but that white and brass sure does look classy. 

Peace, 
Allison 

Saturday, November 2, 2013

His + Hers

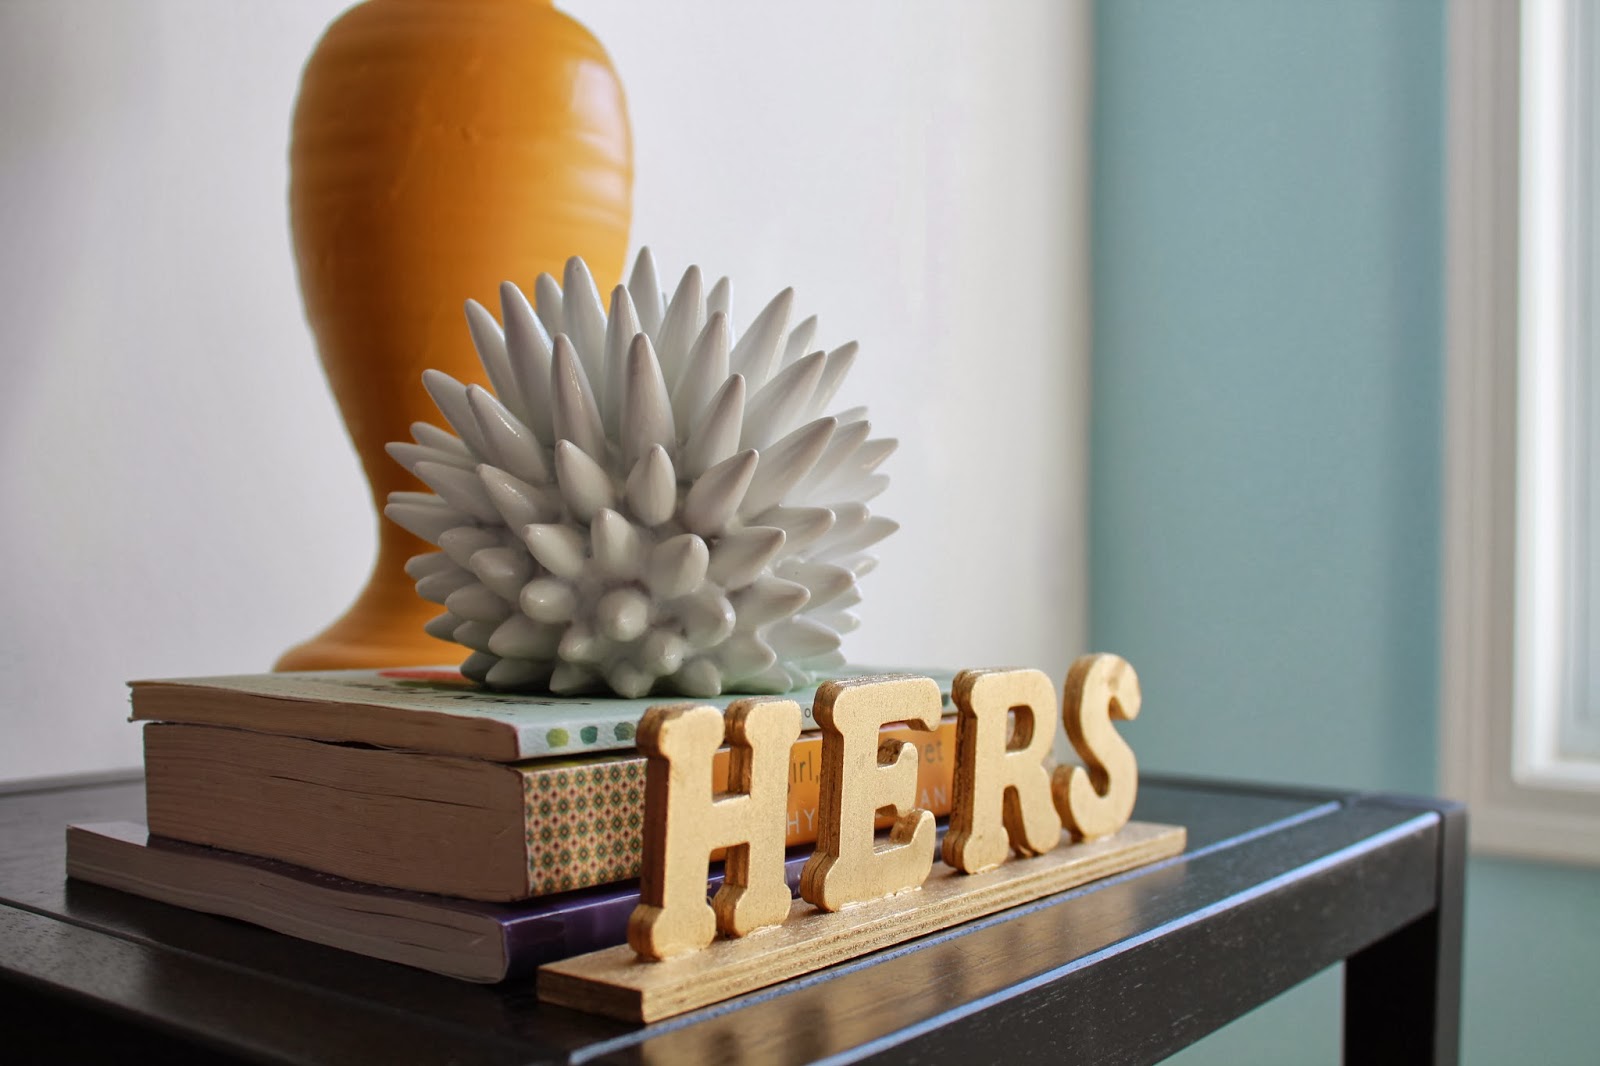
Here's a quick less than $10 project that I tackled before the wedding but have been excited to share: His + Hers gold signs for our bedroom nightstands. 

Literally, I just picked up a wood post about 1" thick and a few packets of wood craft letters that spelled out His and Hers at Hobby Lobby and got to work. The gold spray paint and Gorilla Glue I had on hand. When I got home I just Gorilla Glued the letters onto the wood post (I made each letter two wooden letters thick to make them more sturdy) and then sawed off the end so that there was an even amount of post on both ends. Finally, I just spray painted them gold. 

Look how great they turned out!!


And here's the full on effect of the two signs! Please disregard the bland white wall behind the bed, I still have not gotten the courage motivation to start stenciling that huge monstrosity so bear with me. 

If you like these signs please Pin them using the floating "Pin it" buttons on the pictures! 

Peace,

Allison 

Thursday, October 17, 2013

Fall Craftiness!

.....And I'm back! For good, I promise. It has been over two months since I last posted if you can believe it. Life took me on a wild ride these past two months and I am joyful to finally have the time and energy to blog again. In other news, we are MARRIED! Our wedding went so well and it was such a beautiful day. We couldn't have asked for better weather, venue, and people to celebrate with. 

I will be posting a ton of wedding related posts very soon but for now I will give you a sneak peek with a picture one of our friends took during the ceremony. 

Photo Credit: Jen Reyes

Isn't the venue just spectacular?! And this was just the upstairs of the barn. 

Anywhoooo, despite being MIA the last two months on here, I have been crafting like a crazy woman and since the wedding we have made a ton of progress in the house. 

This last weekend, we finally purchased a full sized kitchen table with some of our wedding gift money!! We used to have this miniature specimen if you may recall...


And now we have this beautiful wonder of wood from World Market that can actually seat 6+ people with their plates unlike our old table where we could only hardly seat four people let along their plates of food. We do have a bench for one of the long sides as well (to seat 6 people), but we grabbed the wrong color at first so we still need to exchange it. The best part about our first big furniture buy for the new house is that World Market was running their friends and family sale so it was all 25% off!! Gotta love a bargain! Also, it is the Verona Dining Table Set if anyone was wondering. 


And we finally got to break in the new table this past Sunday when we had our friends the Reyes' come over for the first annual Friendsgiving! 

We prepared our stomachs for Thanksgiving with some turkey and all the fixings, carved pumpkins with their daughter Bella, and played some corn hole on our Wedding Corn Hole Set (a project I will be updating you all on with the wedding posts that are in the works). 

So needless to say, I am in full swing for Fall. In fact, I had my first Pumpkin Spiced Latte of the season from Starbucks today which definitely got me in the Fall mood. 


Okay, I know I promised some fall crafts! 

Last weekend I updated a set of antlers I had gotten at a flea market on our Mini-Moon in Southport, NC. I had been looking for antlers for the LONGEST time and so when I finally found them, I jumped on it and bought 'em. I have seen some really nice looking painted antlers and some really NOT so nice ones (ie. tacky paint jobs). So I was set on making them look classic and chic. I used gold, light blue, and white to make this happen in a very similar style to one of my favorite bloggers, The Jolly James'. Here's my end result and I'm pretty psyched about how they turned out. 


For now here are the antlers' new home on the window sill between the kitchen and living room. Once my brother brings the industrial style bookshelf he made us as a wedding gift they will have a permanent home below this window but until then I will continue to admire them here. 

I also updated a tin container I bought originally for the wedding photo booth props. My goal with all of the wedding projects was to buy and create things that could be used or re-purposed in our home once the wedding was over. So while I bought this tin with the purpose of holding the photo booth props in mind, I also had the idea to use it as a s'more stick holder as well after the wedding! Especially now that it is finally getting cooler out at night, I am sure we will be using our firepit a lot more and this little bucket will come in handy! 


Another wedding craft I am reusing is one of the chalkboard picture frames I had made for the Bar Menu at the wedding. Basically, I just added a Fall quote I found on Pinterest and am using it above the kitchen cabinets to bring some appeal to that boring area. Pretty simple I know, but I think it brings a little more Fall into our home. 


Although I did this weeks before the wedding, I also have upgraded the front door from just the painted "F" to a full on Fall (or really any season for that matter) wreath. 


It was actually very cheap to make, costing just around $10 to make. I got the vine wreath at Walmart for about $5. Then I got the flower stems at Michael's on sale for about $2 a piece. The burlap ribbon I already had on hand for wedding projects so all in all it was a cheap update that makes the front door look much more approachable. 

Finally, since gold and chevron are some of the current trends, I updated the lamp shade next to our TV using an idea I found on Pinterest. Amy from The Blissful Bee had shared this cheap and easy way to update a boring lampshade here. So when I looked up at our tripod lamp from Lowe's with the boring off-white shade, I knew exactly what to use this idea on. 

BEFORE: 

AFTER:


No, it's not the most "finished" looking project I have made to date, but I do like the hand painted aspect of it and I have to say even though I was skeptical at first when I completed the lamp shade, it definitely has grown on me since.

Okay, well maybe they're not quite all "Fall crafts" so much as "crafts made in the Fall" but I think they are making our house look a lot more like a home.
It feels so good to finally have posted again and I can't wait to share our Wedding detes as well as a few room makeovers we have been working on. In fact, our laundry room is actually FINISHED so I will be revealing the before and after very soon. 

Peace, 

Allison 


Related Posts Plugin for WordPress, Blogger...